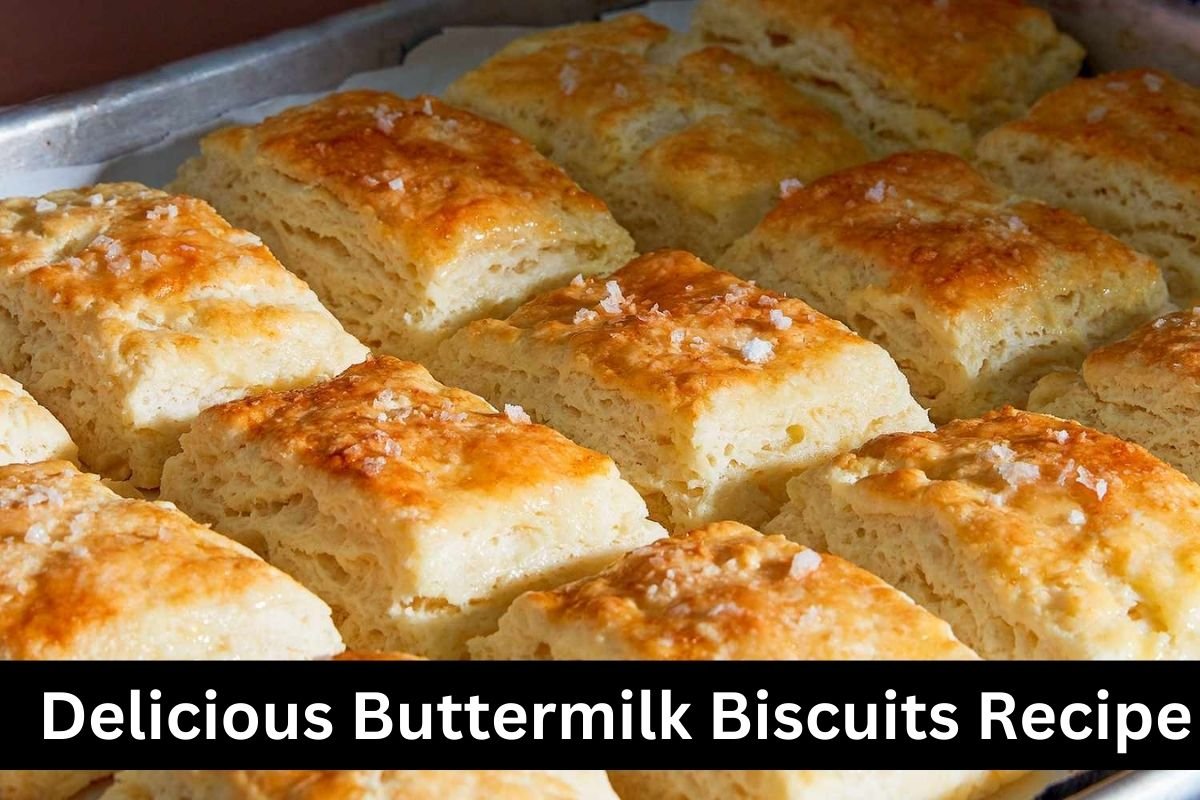
Delicious Buttermilk Biscuits Recipe :-This simple buttermilk biscuit recipe yields biscuits that are exceptionally tender, tall, flaky, and buttery. These are a simple breakfast option that can be served with some jam or gravy.
Delicious Buttermilk Biscuits Recipe
RECIPE INGREDIENTS :
1 . All-purpose flour:
- It is not sufficient to scoop the flour directly from the bag when you are measuring it; rather, you should spoon and level the flour. Taking this precaution will prevent you from accidentally measuring out an excessive amount, which would lead to biscuits that are dense and dry.
2 . Baking powder & baking soda:
- Before you begin, check to see that both your baking powder and baking soda are still in their fresh state. If you want to obtain a good rise, both of these elements are essential.
3 . Granulated sugar:
- Not only does it impart some flavor to the biscuits, but it also does not make them taste sugary.
4 . Salt:
- The salt imparts a flavor to the biscuits and gives them a more buttery flavor, just like the sugar it contains.
5 . Unsalted butter:
- Before being sliced into the flour, it must first be allowed to cool down. Using heated butter will prevent the biscuits from rising correctly in the oven, and they will also prevent them from being flaky.
6 . Buttermilk:
- Because of the reaction between the acidity of the buttermilk and the baking soda, the cakes are able to rise while they are baking in the oven. Also, it makes biscuits that are quite sensitive! When it comes to getting the greatest results, I strongly suggest using real buttermilk.
HOW TO MAKE BUTTERMILK BISCUITS :
- Make sure the dry ingredients are ready: A large bowl should be used to combine the flour, baking powder, baking soda, sugar, and salt by whisking them together.
- Put the butter that has been cut into cubes into the flour mixture: A fork, a pastry cutter, or a food processor can be used to cut the butter into the flour mixture. There are also more options. You should be able to see butter particles that are about the size of peas in your dry ingredients; but, it is acceptable to have a few larger bits.
- Buttermilk should be added: The chilled buttermilk should be poured into the basin, and the dough should be mixed and mixed until it begins to come together.
- Dough for biscuits that has been folded into thirds and is still raw.
- To combine the dough, work it out: After turning the dough onto a surface that has been lightly dusted with flour, knead it together with your hands in a very gentle manner.
- A fold in the dough: Fold the dough into thirds like a letter (as indicated in the photo above), then pat it back out into a rectangle. This process should be repeated until the dough is in the shape of a rectangle.
- A total of two additional folds are required to be performed in this operation. You can create layers by folding the dough over itself and then folding it again. The result of these layers is buttermilk biscuits that are extremely flaky and fluffy! If you believe me, it is well worth the additional effort.
- Form the dough into a pat: After the dough has been folded a third time, pat it out into a rectangle that is half an inch thick. Be sure to take measurements in this area! In the event that the dough is too thin, the biscuits will not rise to a large height.
- The view from above of nine raw biscuits that are placed on parchment paper.
- Cut the biscuits into pieces: For the biscuits, cut them out with a floured biscuit cutter measuring 2.5 inches, and then lay them on a baking sheet that has been lined with parchment paper.
- Ensure that you do not twist your cutter while you are cutting out your biscuits. This will prevent the edges of the dough from rising as much, and it will also seal off the edges. Simply cut the dough in a straight line, and then immediately remove the cutter from the dough.
- Place them on the baking sheet in a side-by-side arrangement: Check to see that the biscuits are lying in contact with one another, as shown in the image above. Not only will this make the biscuits rise higher in the oven, but it will also make the sides of the biscuits softer.
- Apply buttermilk to the tops of the biscuits and set them aside. The tops will turn a gorgeous golden brown color while they bake in the oven if you choose to take this step, which is completely optional otherwise.
- In order to achieve a golden brown color, bake for around 15 to 17 minutes, depending on the oven you are using.
INSTRUCTIONS:
- Preheat the oven to 450 degrees Fahrenheit (230 degrees Celsius). Prepare an extensive baking sheet by lining it with parchment paper or a silicone baking mat, and then set it away.
- To ensure that the flour, baking powder, baking soda, sugar, and salt are thoroughly mixed together, place them all in a large mixing basin and whisk them together. Take the cold butter that has been sliced into cubes and incorporate it into the dry ingredients by using a pastry cutter .
- Continue doing this until you have bits of butter that are about the size of peas. When the dough begins to come together, pour the chilled buttermilk into the mixture and stir it gently until it begins to come together.
- Scoop the dough onto a surface that has been lightly dusted with flour, and then use your hands to gently knead it together. Create a rectangle out of the dough, and then fold it in half down the middle, just like a letter.
- The dough should be turned over, any crumbs should be collected, and then it should be flattened. The process of folding should be repeated two more times.
- Place the dough on a surface that has been lightly dusted with flour, and then pat it down into a rectangle that is half an inch thick . Using a biscuit cutter that is 2.5 inches in diameter and dusted, cut out the biscuits.
- Make sure that you do not twist the biscuit cutter while you are cutting; instead, simply press the cutter down in a straight line and then draw it back up in a straight line.
- Continue to collect any stray bits of dough, patting it back down to a thickness of half an inch, and cutting it until you have eight to ten biscuits. In the beginning, I would recommend making an effort to get as many biscuits as you possibly can.
- As you continue to work the dough, the biscuits won’t be as good as they were before.
- Put the biscuits in a pattern on the baking sheet so that they are touching each other. It is recommended that you apply a small amount of buttermilk to the top of each biscuit.
- For 15 to 17 minutes, or until the top is a bright golden brown color, bake food. After taking it out of the oven, you can brush it with melted butter if you so wish. Just wait a few minutes for it to cool down, then serve it and enjoy it!