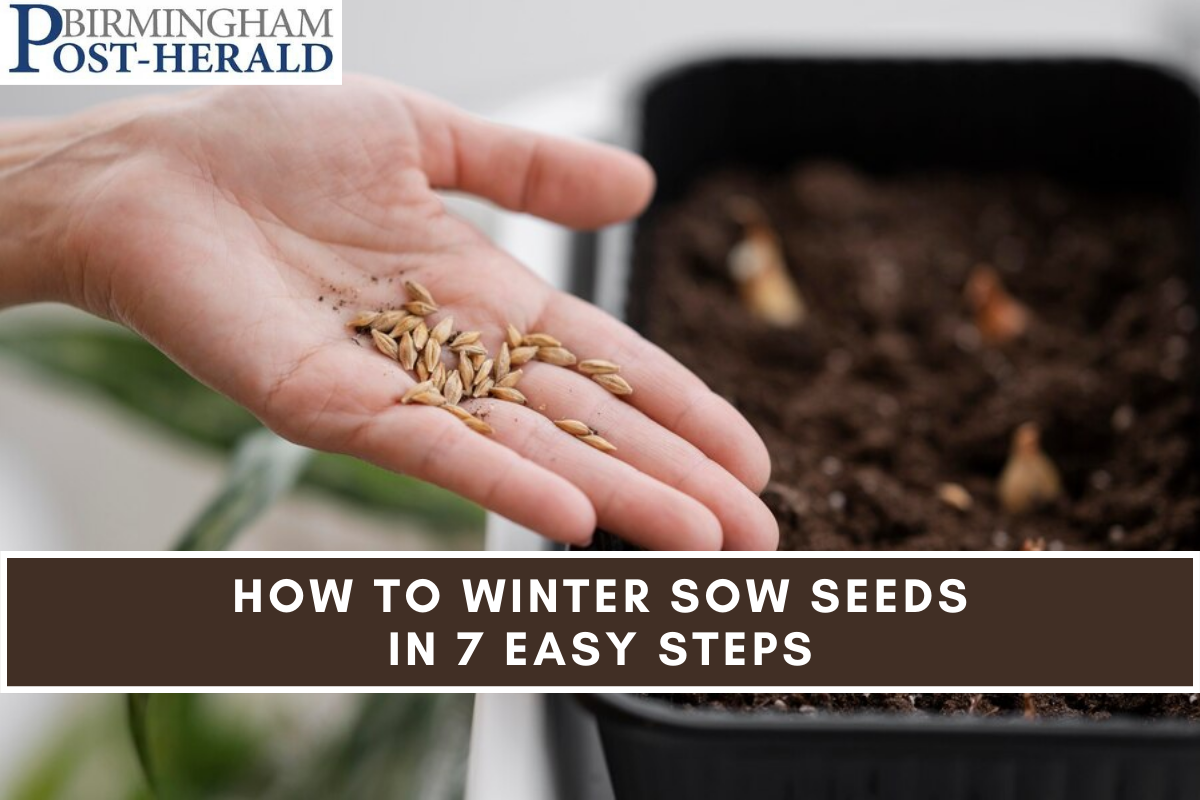
How to Winter Sow Seeds in 7 Easy Steps:- You impatient for spring? Even with snow on the ground, winter sowing seeds can jumpstart gardening season! Winter-sown seeds are stronger and don’t need spring hardening. Gardening expert Danielle Sherwood discusses how to start in this post!
As a novice gardener, I began seeds indoors too early. Early planting caused poor seedlings from lack of light, overgrown plants that needed repotting, and a long hardening-off procedure. Everything takes up a lot of room and time. Winter sowing, which you may start in January, solves all these concerns for impatient gardeners! Simple household goods are all you need, making the process inexpensive. Winter sowing is simple, entertaining, and productive. This year, start your seeds with this step-by-step guide for an easier, cheaper method.
How to Winter Sow Seeds in 7 Easy Steps
Winter Sowing Benefits
- Winter sowing changed everything for me. This method may become your go-to for gardeners who can’t wait to start their seeds or are limited in area! Winter sowing has several advantages.
When Should You Start?
- My old indoor seedling chart was a beast. I mentioned all my plants and start dates. Starting from my last frost date in May, I determined how many weeks each needed to grow indoors.
- It was difficult and intimidating. No need for that with winter sowing! With no set start date, this method is variable.
- The method will depend on your climate and seeds, so don’t worry about perfection. No need to worry about seeds freezing.
What You’ll Need
- Winter sowing is great since it uses cheap, recyclable resources. Choose containers based on what you have or desire. Regular potting mix works, and nature takes care of the rest! Here are the necessities.
Step 1: Choosing Seeds
- Although some articles recommend winter sowing just cold-loving crops like brassicas or hardy perennials, you can winter sow almost anything.
- Winter-sown veggies like brassicas may have an advantage because they love the cold, but most containers keep seedlings warm enough. Your mini-greenhouses will protect seeds from cold and keep them from germinating until warm enough.
- Starting sensitive annuals a month or two later than hardier plants may be necessary if your winter temperature fluctuates greatly.
- In full candor, I start all my seeds at once in jugs in the snow, and they all look fantastic in spring!
- Start with cold-stratified seeds like many native perennials or those that reseed easily to be safe.
- Lettuce, kale, broccoli, and cabbage are easy seeds to start with. Cold-hardy perennials also thrive.
Step 2: Prepare Your Containers
- Many containers can be used for winter sowing. Whatever you choose must be clear or slightly opaque to let sunlight in.
- Allow at least 3-4 inches of soil for root growth. Containers need drainage and ventilation holes, which you can cut or drill.
- The most popular milk jugs are clear with the cap off for ventilation. Gallon-size plastic ziploc bags with adjustable zipper tops are also popular. However, you can use take-home restaurant containers with lids, 2-liter soda bottles, or solo cups in a plastic tub.
Step 3: Fill and Plant
- You’re ready for fun! Put at least 3-4 inches of potting soil in your container. Winter sowing doesn’t require sterile, light-textured seed-starting mix because you’re aiming to mimic outdoor conditions. Great potting soil!
- Next, thoroughly water the soil. Start with moist dirt that sticks to your finger, but not waterlogged.
- Now drop seeds! You can plant them densely and thin later or use a few per pot. Seed packs suggest depth and spacing. Lightly tamp and sprinkle soil.

Also See:- 10 Flowers That Are Easy to Grow From Seed
Step 4: Secure the Container
- Close milk jug hinged lids and repair the horizontal cut with durable duct tape.
- It will be removed and the lids opened during planting or to give huge seedlings more sunlight on warm days.
- For Ziplocs, close the top zipper mostly but leave a small opening for airflow. It can be held open using clothespins.
- Many gardeners put a skewer through the tops of many Ziploc bags that can sit on a tub or tray to hold them upright in rain and snow.
- To support the top, insert little branches vertically.
- Be imaginative, but make sure the bags don’t smash and have room for seedlings above the dirt.
- Now label your containers! Sharpies or paint pens can be used to write on them. Make sure your gear is weatherproof.
Step 5: Pick your Location
- Place your containers in winter sun and weather. They thrive in rain, snow, and wind, which produces strong seedlings!
- In windy conditions, place them in aluminum trays or milk crates to prevent them from falling. Right on the ground works.
Step 6: Monitor Your Seedlings
- Remember that this procedure may take time to germinate seedlings. They can survive in milk jugs or plastic greenhouses, but they can’t sprout until it warms up. Depending on your climate, sprouts may appear in early spring.
- I thought growing inside gave me a head start because they germinated earlier, but winter-sown seedlings frequently fruit or blossom at the same time.
- Even though winter-sown seedlings germinate later, their hardiness and strength help them transition and outperform indoor transplants.
- If you have enough rain and snow, you can disregard your containers until spring. Keep them moist in dry winters by checking and watering.
- Look for sprouts in late winter or early spring. If seeds germinated quickly and are outgrowing the container, open the lids on warm sunny days but cover them if temps drop.
Step 7: Transplant
- You can transfer seedlings directly into the garden after frost threat has gone! Based on how many you planted and their chosen spacing, gently split their roots or put them in one big hunk.
- Winter sown seeds are a cheap and convenient alternative to nursery beginnings since they germinate well and are already tailored to your garden. Take care of them like any other garden plant and enjoy the results!
If you like this article about How to Winter Sow Seeds in 7 Easy Steps Please share with your friends and family members.